|
NEW RECIPE Smoked BBQ Shrimp 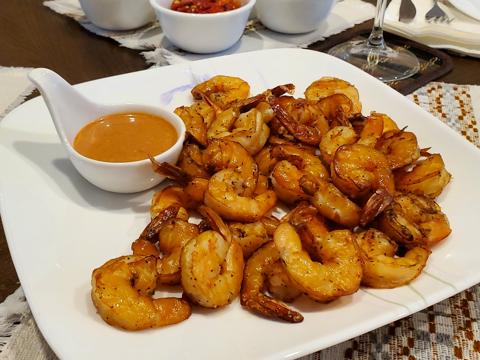
These smoked shrimp are incredibly juicy, lightly smoky, and coated in a tangy barbecue glaze with horseradish, Worcestershire sauce, and fresh lemon juice. They cook quickly over gentle indirect heat, making them an excellent appetizer or main course for backyard cookouts. Apple or alder wood adds a mild, sweet smoke that complements the delicate flavor of the shrimp without overpowering them. |
||||||||||||||||||||||||||||||